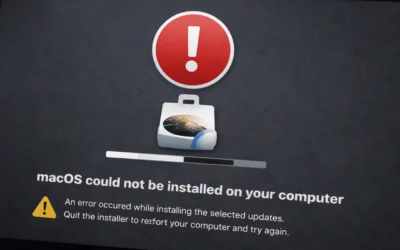
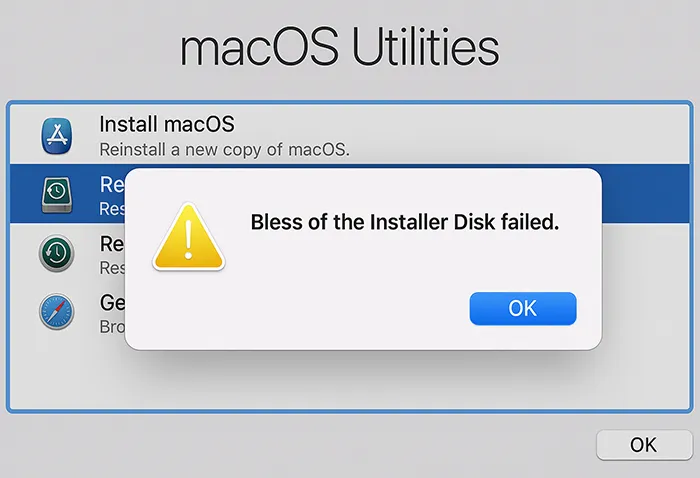
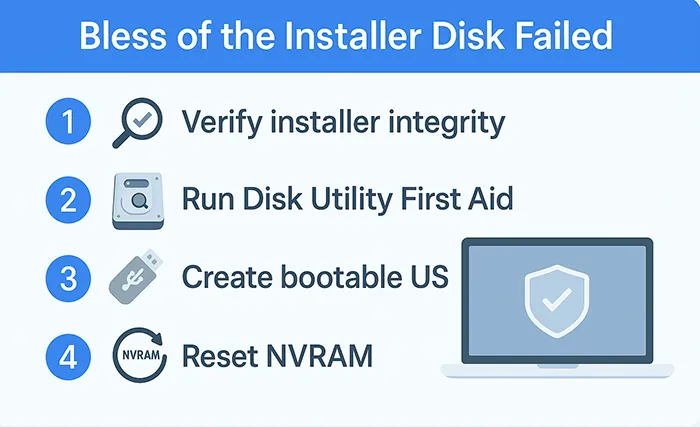
The “Bless of the Installer Disk Failed” error stops macOS from recognizing your installer as a valid startup disk. It’s tied to the macOS bless utility, which tells firmware where to find a bootable system. When bless fails, installation or upgrade stalls. This step-by-step guide covers causes, fixes, and prevention—so you can complete the install without wiping your Mac.
What This Error Means
Bless prepares a system folder so your Mac’s firmware can boot from it. If the process can’t write boot information or finds a mismatch (format, permissions, or integrity), it throws the error and your installer won’t show as a startup volume.
Common Root Causes
- Corrupt or incomplete installer (partial download, network error).
- Wrong disk format (APFS vs HFS+ mismatch for the macOS version).
- Disk & permission issues (volume errors, read/write failures).
- Firmware / Secure Boot policies (Apple Silicon / T2 Macs) set too strict.
- Unsupported hardware or USB media problems.
Which macOS Versions Are Affected?
Reports span Big Sur (11) through Monterey (12), and into Ventura (13) and Sonoma (14), especially on T2/Apple Silicon Macs with misconfigured security policies or when the installer volume format is incorrect. Knowing the target version helps pick the right disk format and installer source.
Before You Start: Back Up & Prep
- Back up with Time Machine or your preferred tool.
- Unplug non-essential peripherals (docks, hubs, external drives) during installation.
- Use a reliable USB 3.0/3.1 drive (16GB+) for bootable installers.
Step-by-Step Fixes
1) Verify Your Mac & Version Compatibility
Ensure your Mac meets the official macOS hardware requirements. Attempting upgrades on unsupported Macs (including Hackintosh scenarios) commonly triggers bless issues.
2) Re-download & Validate the Installer
Always download macOS from the Mac App Store or Software Update. If you maintain internal checksums, validate the installer file to rule out corruption.
Example checksum command (adjust path/macOS name):
shasum -a 256 /Applications/Install\ macOS\ Sonoma.app/Contents/SharedSupport/SharedSupport.dmg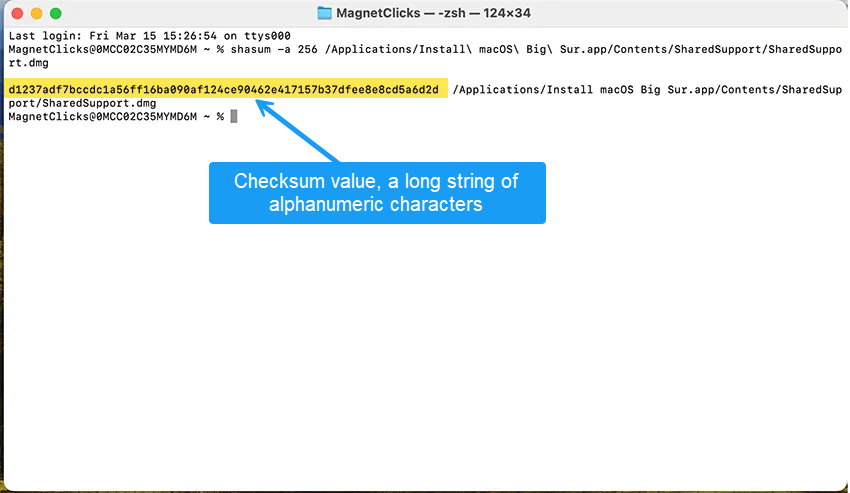
3) Repair the Target Disk (First Aid)
Volume/permission errors can block bless. Repair the target disk:
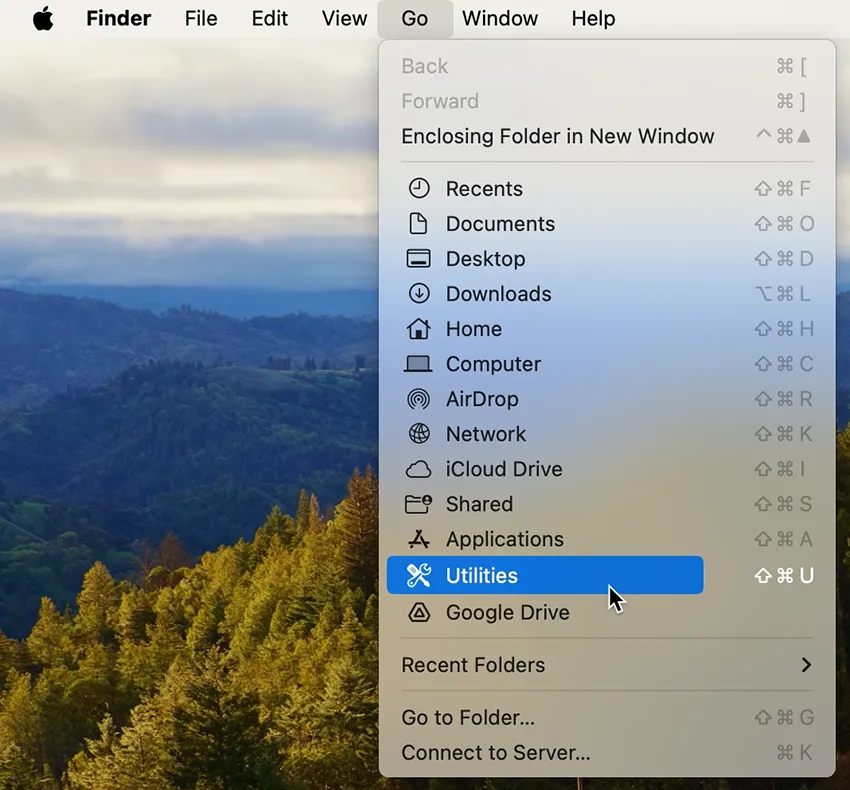
- Restart and hold Command (⌘) + R to enter macOS Recovery.
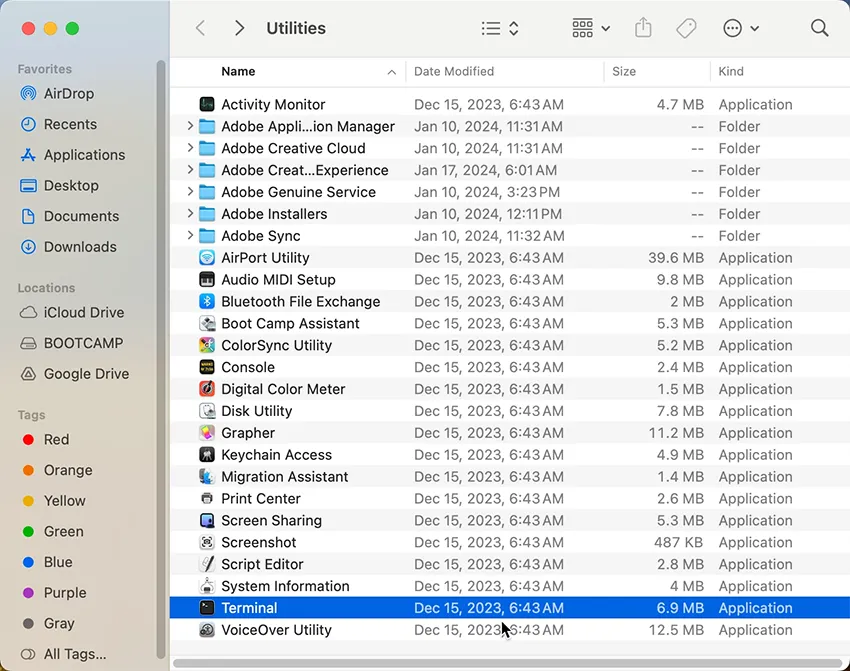
- Open Disk Utility → select your startup disk.
- Run First Aid on each volume/container, then the device.

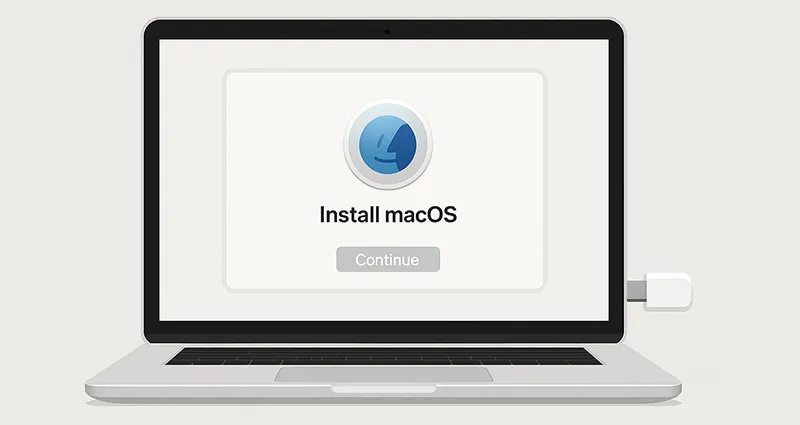
4) Create a Clean Bootable USB Installer
If errors persist, rebuild your installer from scratch:
- Erase your USB as Mac OS Extended (Journaled), GUID Partition Map.
- Download the macOS installer from the Mac App Store.
- Use
createinstallmediato build the USB (example for Sonoma):
sudo /Applications/Install\ macOS\ Sonoma.app/Contents/Resources/createinstallmedia --volume /Volumes/MyUSB
Need a full walkthrough? See our step-by-step guide: How to Create macOS Bootable USB.
5) Reset NVRAM (Boot Variables)
NVRAM holds startup-disk and display info that can interfere with installation.
- Shut down your Mac.
- Power on and immediately hold Option (⌥) + Command (⌘) + P + R for ~20 seconds.
6) Try Internet Recovery
Internet Recovery pulls a fresh installer from Apple’s servers:
- Restart and hold Option (⌥) + Command (⌘) + R until the globe appears.
- Connect to Wi-Fi, then use Reinstall macOS from Utilities.
7) Check Logs for Clues
In Recovery, open Console and review /var/log/install.log. Search for lines mentioning bless, permission denied, or APFS to identify the exact failure point.
APFS vs HFS+: Pick the Right Format
Modern releases (High Sierra and later) expect APFS for the system volume. Using HFS+ for newer installers can trigger failures; conversely, very old macOS versions may expect HFS+. If you’re unsure, erase and let the installer choose the correct format automatically.
Security Policy Notes (T2 / Apple Silicon)
On newer Macs, install failures can stem from Secure Boot settings. In Recovery, open Startup Security Utility (Intel T2) or Recovery Assistant → Security Policy (Apple Silicon) and ensure policies allow booting from external media if you’re using a USB installer. Revert to default after install.
Prevention & Best Practices
- Download from Apple only (App Store / Software Update).
- Test your USB installer before production upgrades.
- Keep reliable backups (Time Machine + cloud).
- Unplug hubs/peripherals during installation.
- Avoid betas on mission-critical machines.
Related Guides (Internal)
- How to Create macOS Bootable USB
- How to Solve macOS Installer Errors: Step-by-Step Fix
- Top 5 Reasons macOS Installer USB Doesn’t Show Up at Startup
- Fix “IA App name cookie write failed” when creating Bootable USB
Frequently Asked Questions
What causes the “Bless of the Installer Disk Failed” error?
Usually a corrupted installer, wrong disk format (APFS/HFS+), volume errors, or security/firmware settings that block external boot.
Can I fix this without wiping my Mac?
Often, yes. Try First Aid, re-creating the USB installer, and resetting NVRAM. If the system volume is badly corrupted, a clean install may be required.
Should I use APFS or HFS+?
For modern macOS (High Sierra+), use APFS. Very old versions may rely on HFS+. When in doubt, let the installer format the target volume.
Does this affect Intel and Apple Silicon?
Yes. Intel Macs often hit disk/permission snags; Apple Silicon/T2 devices can be blocked by Security Policy settings for external boot.
What if the USB installer still won’t appear at startup?
Check your Security Policy for external boot allowance, try a different USB port/drive, and see our guide on installer USB not showing at startup.