Fortunately, these issues are solvable. In this guide, we’ll explain why these errors occur and walk you through proven fixes, including adjusting Terminal permissions, formatting your USB properly, and re-downloading the installer. By the end, you’ll be able to create a working macOS bootable USB without headaches.
Why Does the “IA App Name Cookie Write Failed” Error Occur?
This error usually happens when Terminal doesn’t have proper permissions, the USB drive isn’t formatted correctly, or the macOS installer file is corrupted. Sometimes antivirus or system security settings also interfere. The good news is you can fix these causes with a few adjustments.
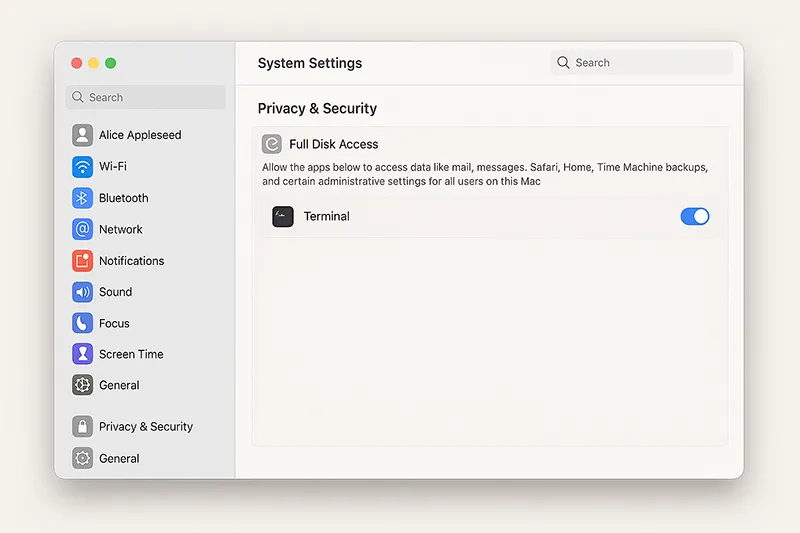
Step 1: Enable Full Disk Access for Terminal
The most common reason for this error is that Terminal lacks Full Disk Access. Without it, the createinstallmedia command cannot write to your USB drive.
How to Grant Full Disk Access:
- Click the Apple logo in the top-left and go to System Settings.
- Navigate to Privacy & Security → Full Disk Access.
- Add Terminal and enable access.
If Terminal is Missing:
- Click the + button.
- Navigate to
Applications → Utilities. - Select Terminal → Open.
- Re-lock settings and restart Terminal for changes to take effect.
Step 2: Fix Common Bootable USB Errors
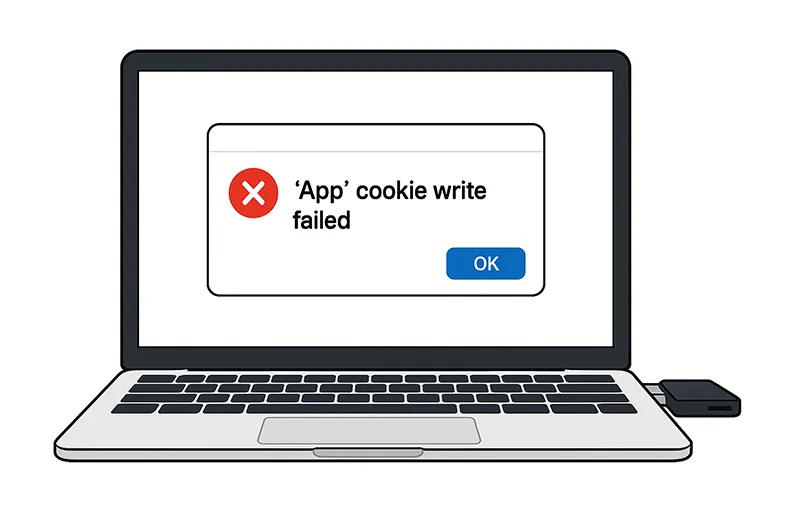
1. “IA App Name Cookie Write Failed”
- Check write permissions for both the USB drive and Applications folder.
- Try using a different USB port.
- Ensure Terminal has Full Disk Access (see above).
2. “The Copy of the Installer App Failed”
- Ensure your USB has at least 16GB capacity.
- Run Disk Utility → First Aid to check disk health.
- Re-download the macOS installer from Apple Support.
3. “The Bless of the Installer Disk Failed”
- Format your USB as Mac OS Extended (Journaled) with GUID Partition Map.
- If issues persist, reset NVRAM and retry.
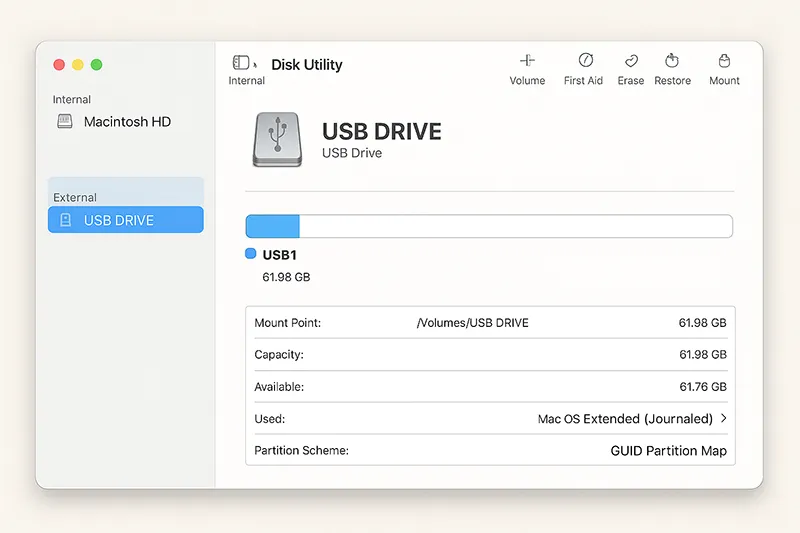
Step 3: Properly Prepare Your USB Drive
Before running the Terminal command, make sure your USB drive is clean and correctly formatted.
- Open Disk Utility.
- Erase the USB drive using:
- Format: Mac OS Extended (Journaled)
- Scheme: GUID Partition Map
- Use a reliable USB brand for higher success rates.
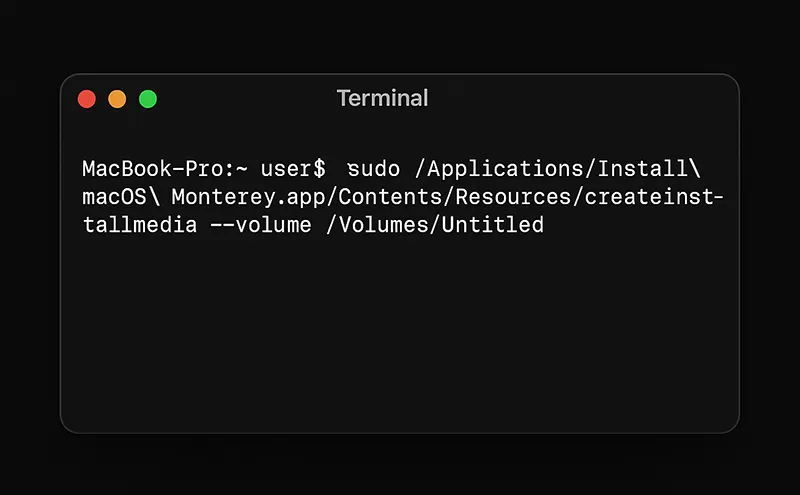
Step 4: Use the Correct Terminal Command
Enter the createinstallmedia command carefully. Replace [USB] with your USB’s actual name.
sudo /Applications/Install\ macOS\ Ventura.app/Contents/Resources/createinstallmedia --volume /Volumes/MyUSB- Replace “Ventura” with the correct macOS version (e.g., Monterey, Sonoma).
- Do not interrupt the process—it may take 15–30 minutes.
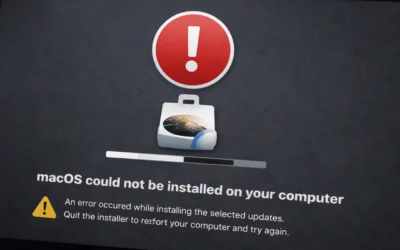
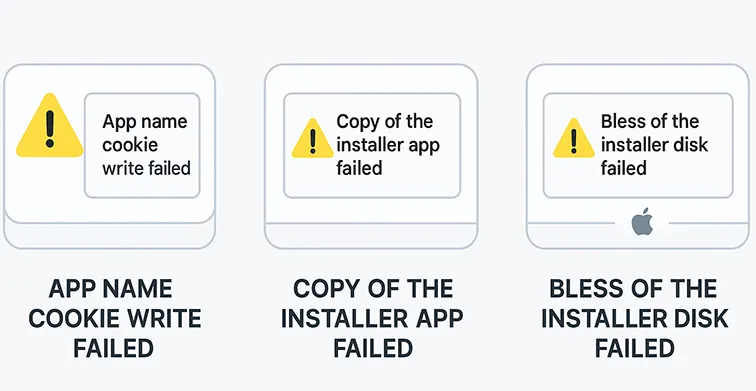
Step 5: Common Error Messages
Here are the most common issues you may encounter and what they look like:
Step 6: Additional Troubleshooting
- Update macOS to the latest version available.
- Temporarily disable antivirus or firewall software.
- Check logs in the Console app for detailed error messages.

If all else fails, follow our guide: How to Create macOS Bootable USB for a clean setup.
What’s New Since This Article Was Published?
Apple has released newer macOS versions, including macOS Sonoma (2023) and macOS Sequoia (2025). The createinstallmedia command remains the same, but always ensure you’re downloading the latest installer from Apple’s official macOS download page.
Frequently Asked Questions
Why do I get “IA App name cookie write failed” on macOS?
This usually indicates permission issues with Terminal or a corrupted macOS installer file.
How do I give Terminal Full Disk Access?
Go to System Settings → Privacy & Security → Full Disk Access, and add Terminal manually if needed.
Can antivirus software block the bootable USB creation process?
Yes, some security software may interfere. Disable it temporarily during the USB creation process.
What format should my USB be in for macOS boot?
Always format the drive as Mac OS Extended (Journaled) with GUID Partition Map.
What if I still get errors after these fixes?
Try another USB drive, re-download the installer, reset NVRAM, or update macOS before retrying.