Creating groups in Active Directory (AD) is a foundational task for managing permissions, organizing users, and controlling access to network resources. This guide walks you through how to create and configure security or distribution groups using Active Directory Users and Computers (ADUC).
Step 1: Open Active Directory Users and Computers (ADUC)
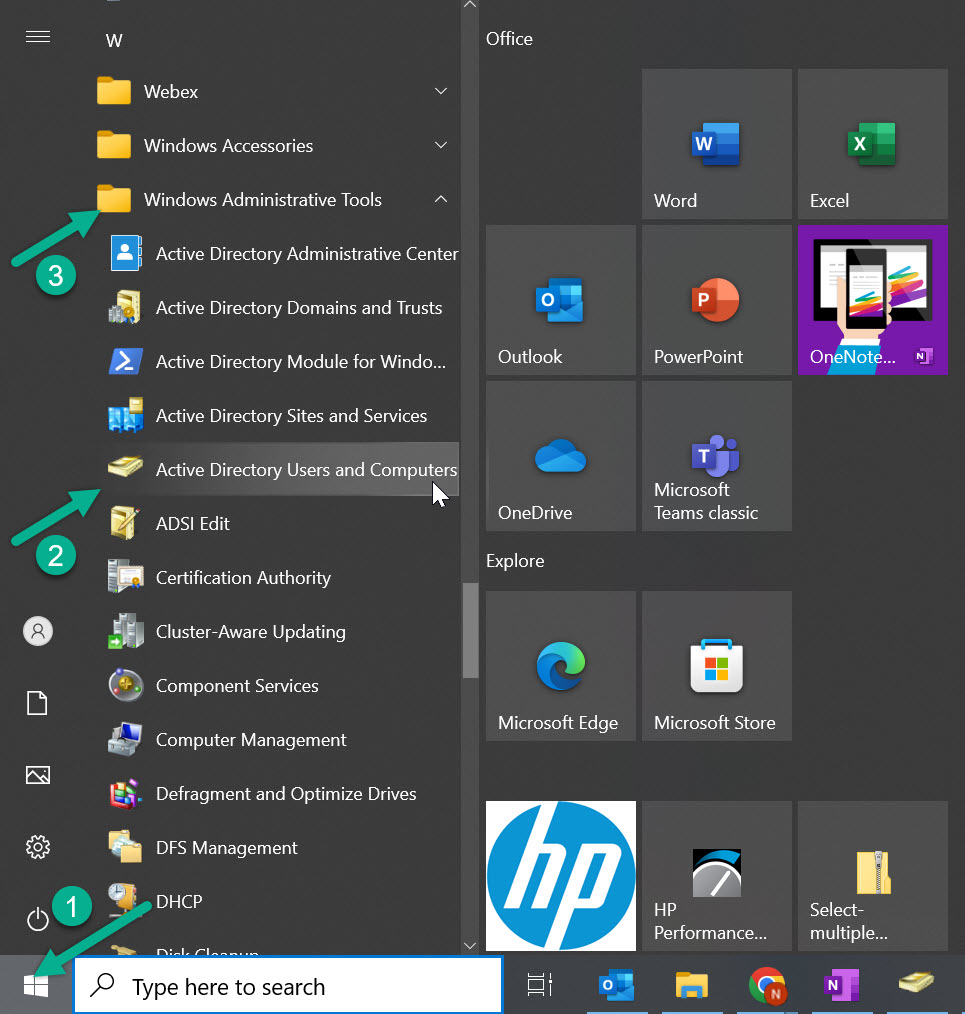
- Click Start or press ⊞ Win.
- Go to Windows Administrative Tools.
- Select Active Directory Users and Computers.
 Need help launching ADUC? See full instructions here.
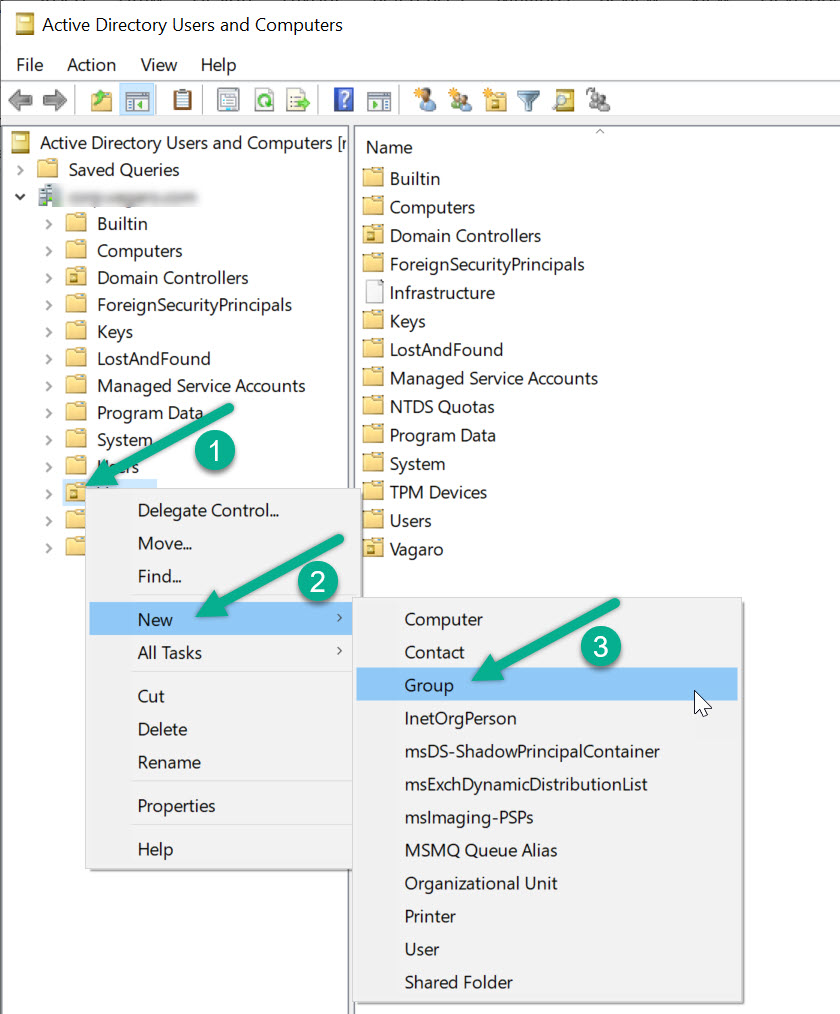
Step 2: Choose the Organizational Unit (OU)
- Right-click the target OU.
- Select New > Group.
Step 3: Configure Group Properties
In the New Object – Group dialog box:
- Group Name: Choose a consistent, descriptive name.
- Group Scope:
- Domain Local: For permissions within a single domain.
- Global: For adding users across the same or trusted domains.
- Universal: Best for forest-wide resources or multi-domain groups.
- Group Type:
- Security: Use to assign access permissions.
- Distribution: Used for email distribution only.
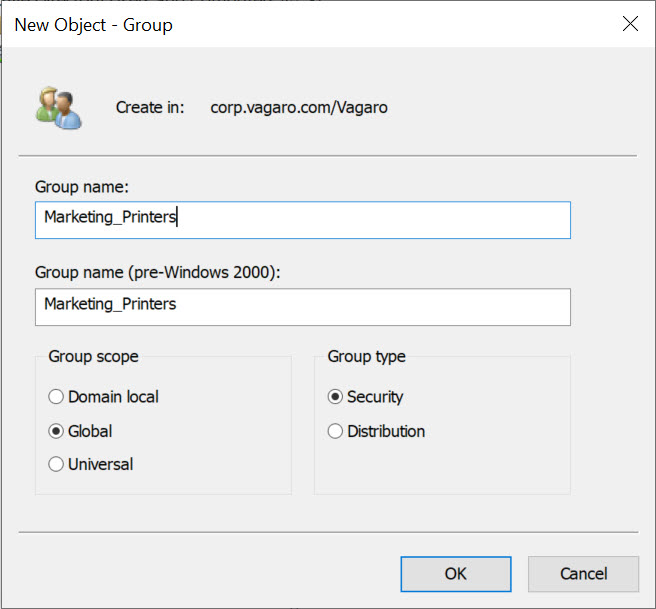 Click OK to create the group.
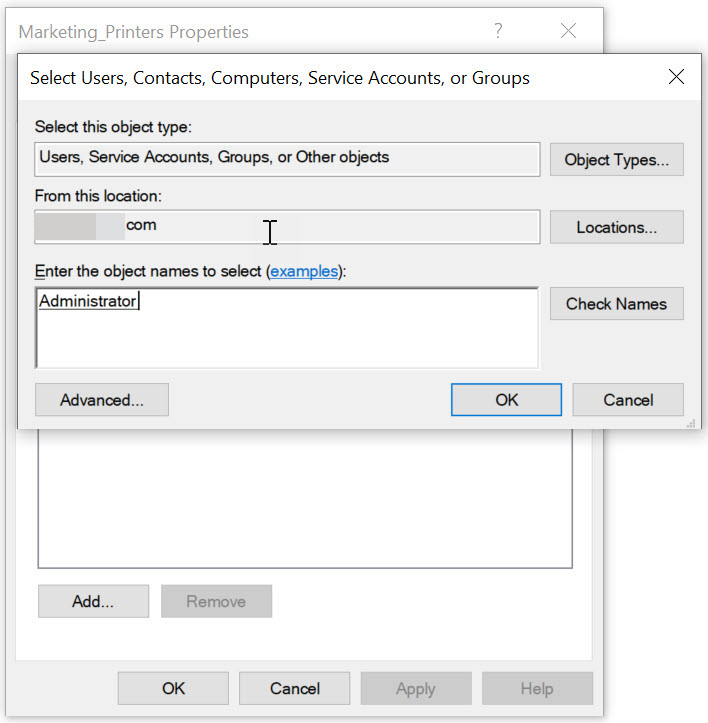
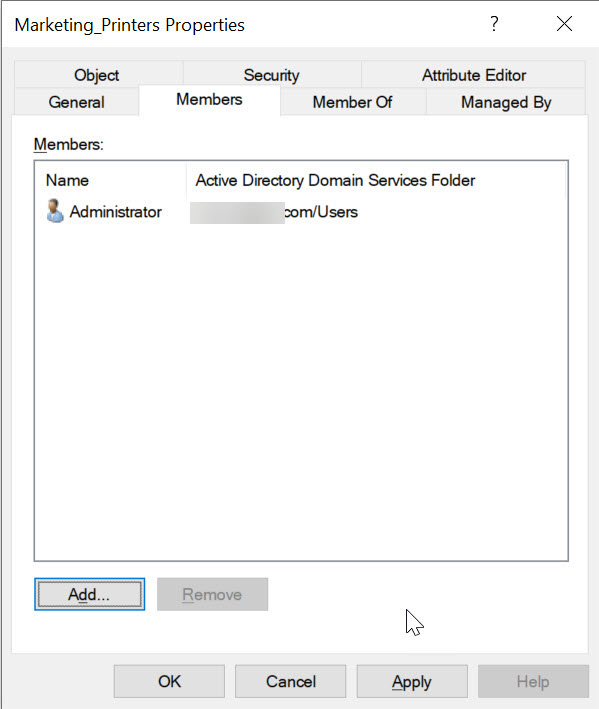
Step 4: Add Members to the Group
- Right-click the group and select Properties.
- Go to the Members tab.
- Click Add to include users or other groups.
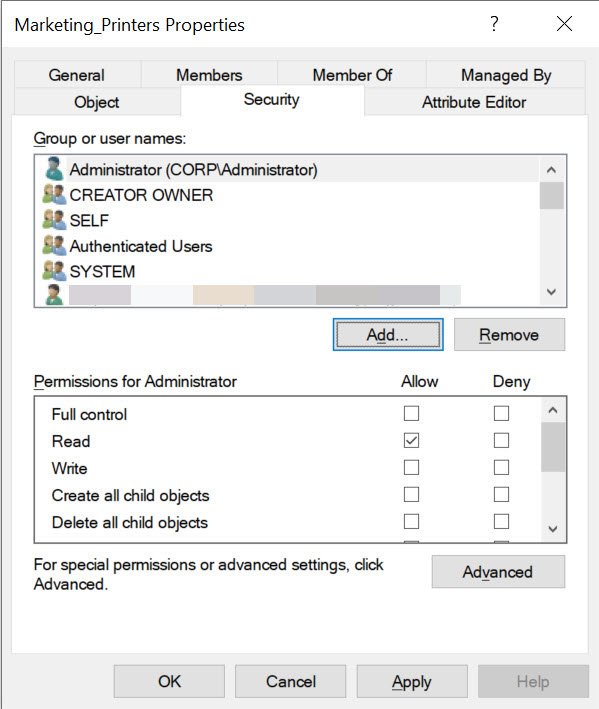
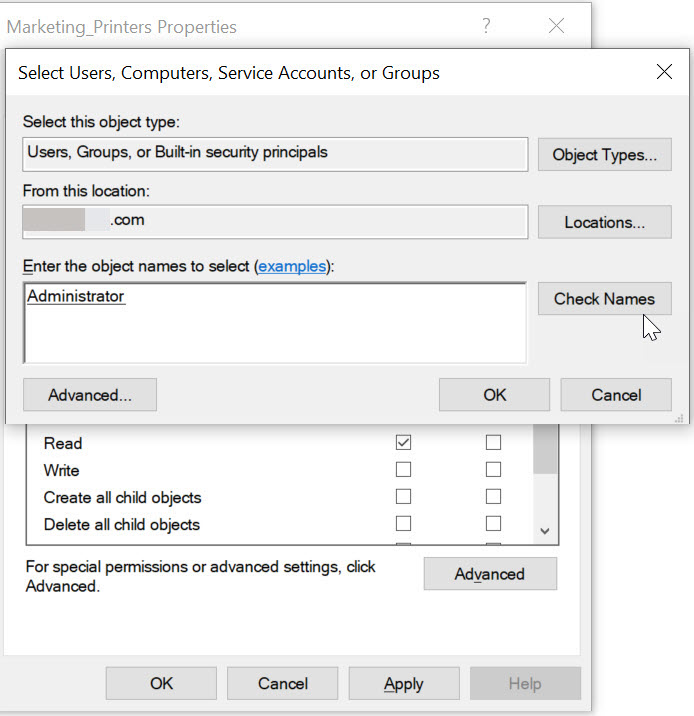
Step 5: Assign Permissions to the Group
- Right-click a shared resource (folder, printer, etc.).
- Select Properties > Security tab.
- Add the group and configure access: Read, Write, or Full Control.
Best Practices for Group Management
- Use naming conventions like
HR_ReadOnly,IT_Admins. - Document the purpose and scope of each group.
- Regularly audit group memberships and remove inactive accounts.
- Apply Zero Trust Security principles when assigning permissions.
Frequently Asked Questions
What is the difference between a Security and a Distribution group?
A Security group is used to assign access to resources, while a Distribution group is used solely for sending emails to multiple users.
Can I change the group type after creation?
You can change from Distribution to Security, but not always the other way depending on scope and usage. It’s best to plan ahead.
Where should I create groups—in Users or an OU?
Always create groups within a dedicated Organizational Unit (OU) for easier delegation and structure.
Next: Add Users and Computers in Active Directory
Author: Waheed Burna — with over 15 years of experience in enterprise identity, access control, and infrastructure automation.