Windows 10 creates temporary files to support system and app processes, but over time, they can accumulate and slow down performance. These files include installation remnants, log files, caches, and update leftovers.
Cleaning them up regularly can help recover disk space, prevent system lag, and optimize overall PC health. Below are several effective ways to remove temporary files in Windows 10.
Related: Delete Temporary Files in Windows 11
🛉 Step-by-Step: Deleting Temp Files via Settings
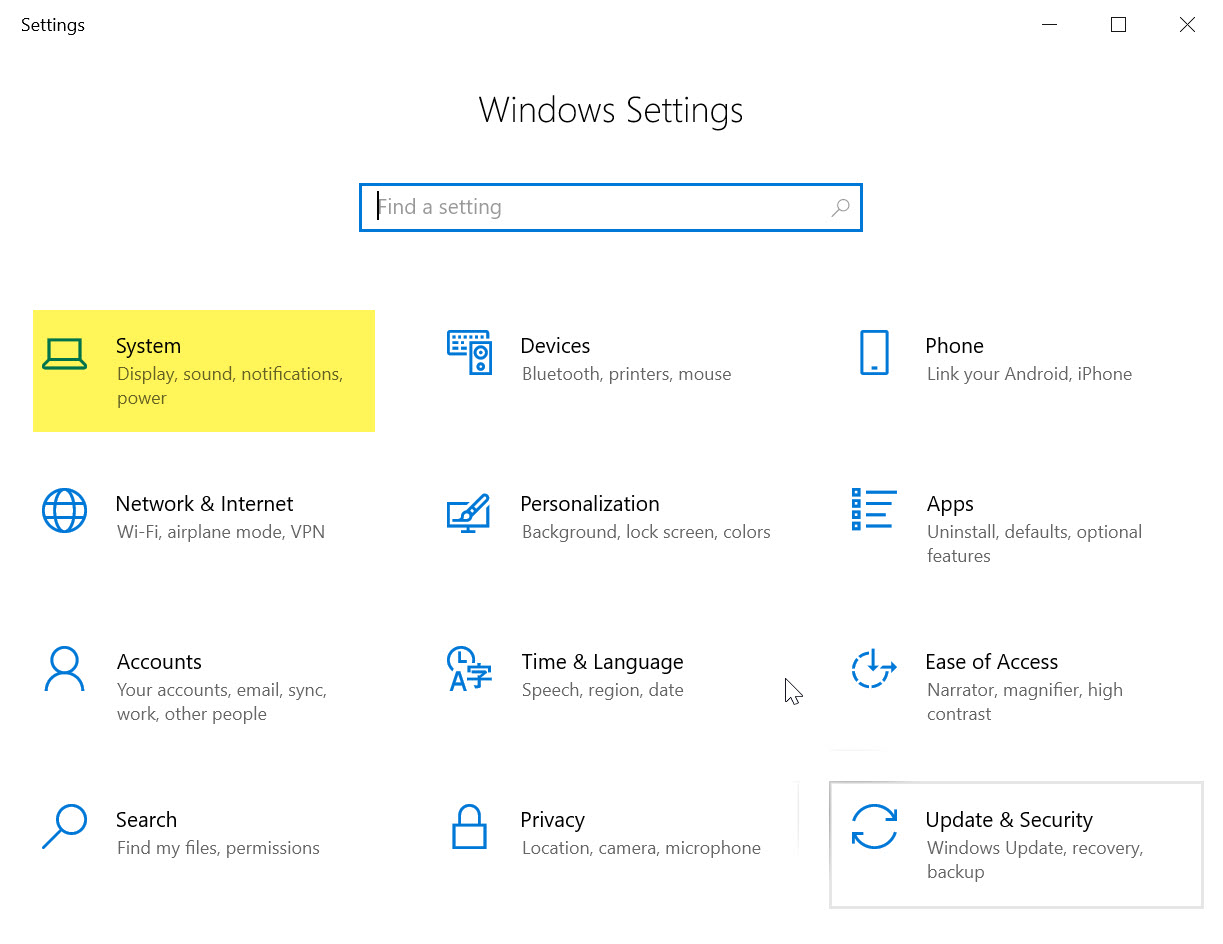
- Open Settings: Press Win + I or select the gear icon from the Start menu.
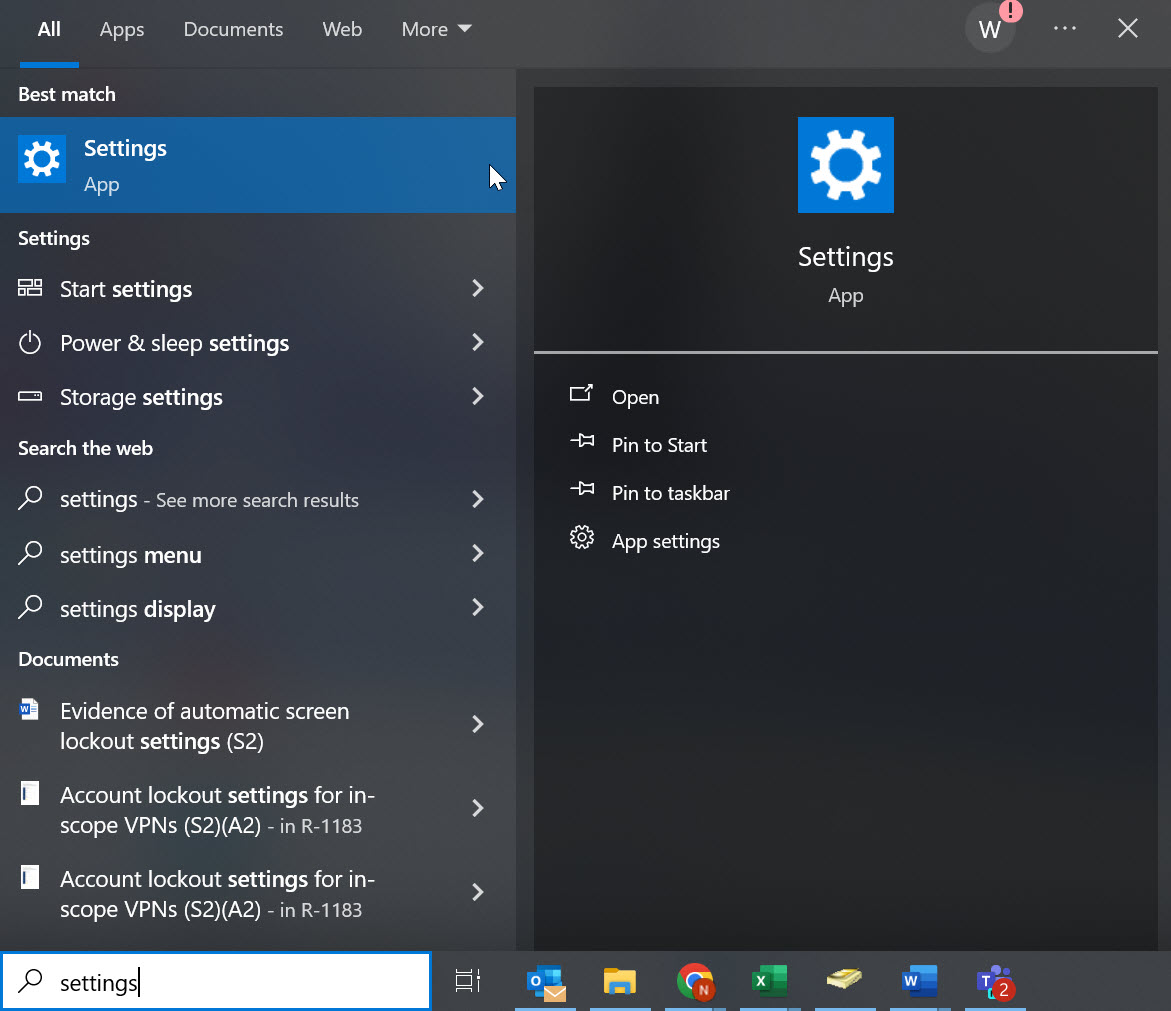
Open Settings from the Start menu - Click System → Storage:
Choose Storage from the left pane - Click Temporary Files:
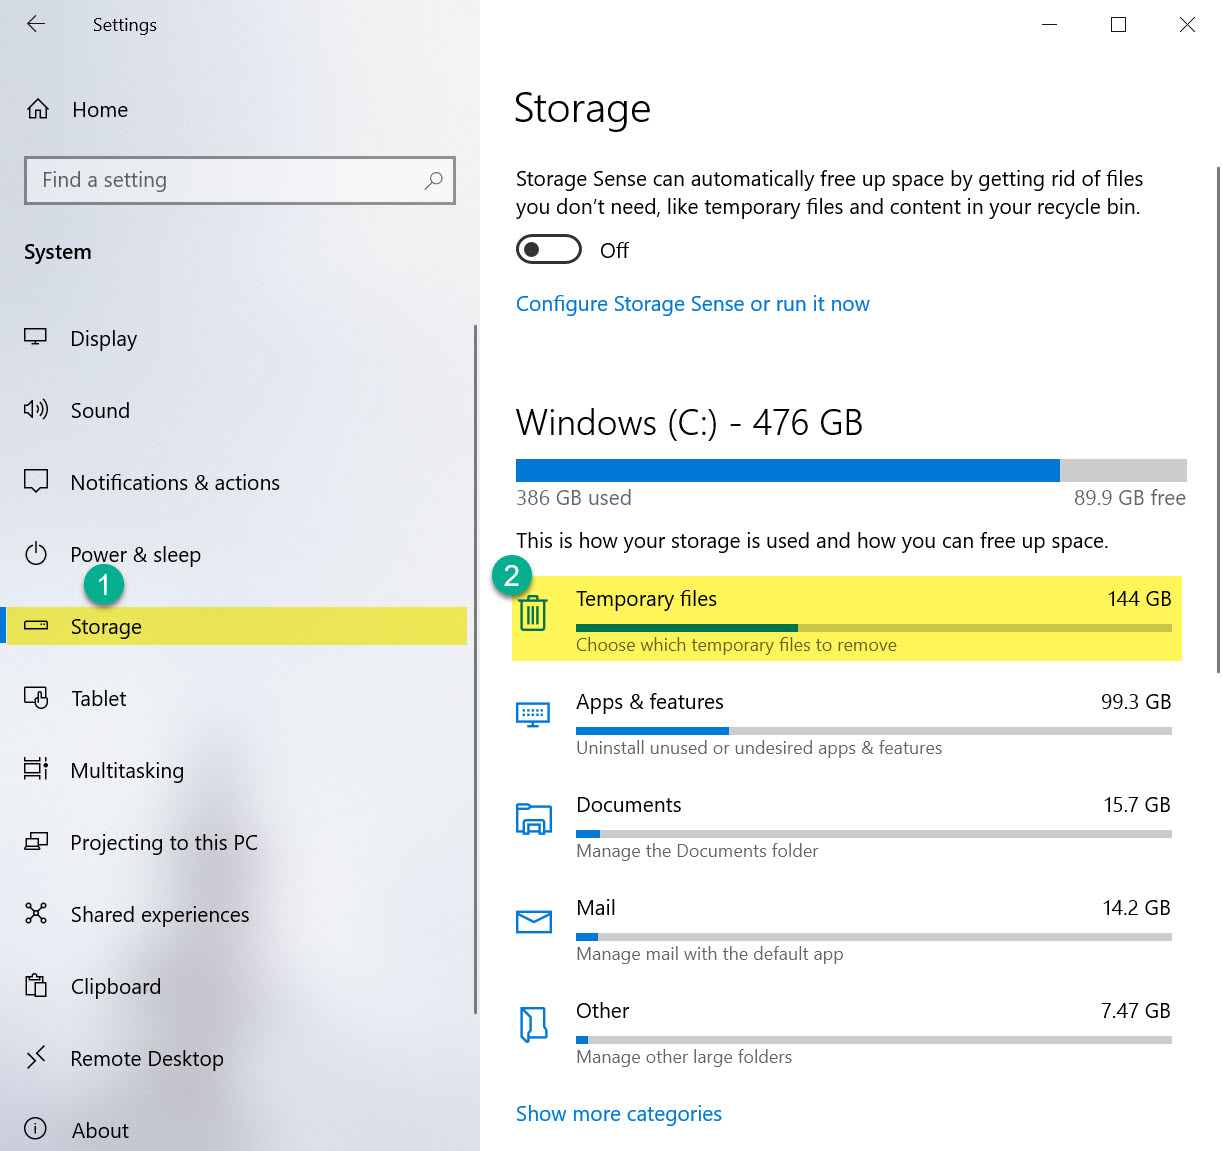
Review all categories before deleting - Select and Delete: Check safe-to-delete file types like Recycle Bin, delivery optimization, thumbnails, and update files. Click Remove files.
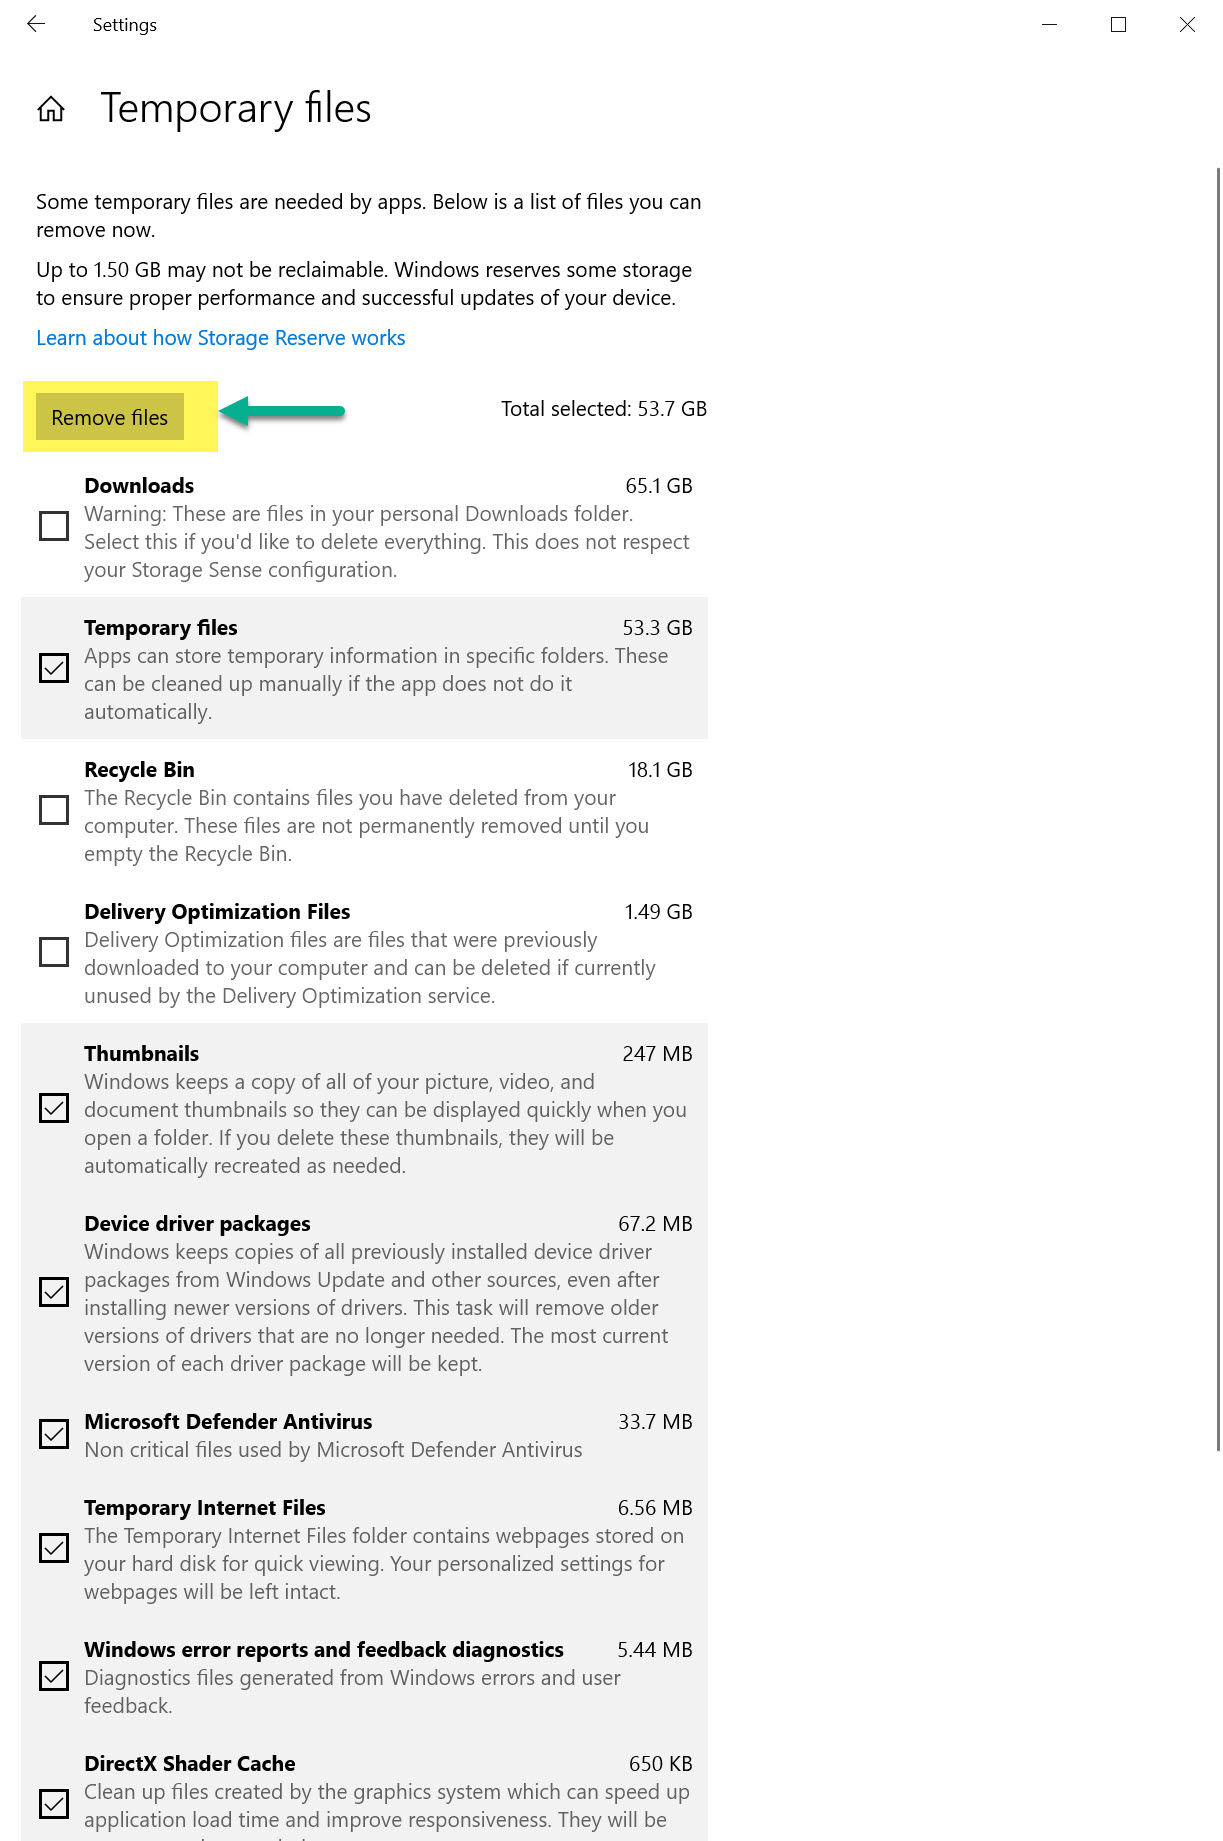
Click “Remove Files” to delete selected temp items
🛠 Alternative Cleanup Methods
1. Use Disk Cleanup
- Press Win + S → type Disk Cleanup
- Select the C: drive → click OK
- Select file types to delete → click Delete Files
2. Use Storage Sense
- Go to Settings → System → Storage → Configure Storage Sense
- Toggle it ON and set cleanup frequency
- Click Run Storage Sense Now for immediate cleanup
3. Manual Cleanup via Temp Folders
- Press Win + R → type
%temp%→ press Enter - Delete all files (skip any in use)
- Repeat with
temp(without the % signs)
🧠 Tips for Keeping Windows Clean
- Enable Storage Sense to automate future cleanups
- Clear Recycle Bin weekly
- Remove unused applications
- Review startup programs to reduce boot load
📚 Related Articles
Frequently Asked Questions
Why should I delete temporary files in Windows 10?
They accumulate over time and reduce available storage. Deleting them improves speed and responsiveness.
Is it safe to delete all temp files?
Yes. Windows flags only files that are safe to delete using built-in cleanup tools.
What is Storage Sense?
A built-in feature that removes unnecessary files automatically on a schedule.
Will I lose personal files by deleting temp files?
No. It only removes system-generated temporary data, not your personal documents.
Can I run cleanup without admin rights?
Yes. Most methods (Settings, Disk Cleanup, %temp%) don’t require administrator access.
🔗 External Resources
- Microsoft Support – Free Up Drive Space in Windows :contentReference[oaicite:0]{index=0}
- Microsoft Support – Manage Drive Space with Storage Sense :contentReference[oaicite:1]{index=1}