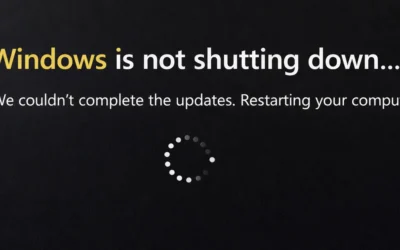
Windows 11 is powerful and sleek, but like any operating system, it’s not immune to corruption. Damaged system files or a broken Windows image can lead to errors, crashes, or failed updates. Thankfully, Microsoft provides two built-in tools—DISM (Deployment Image Servicing and Management) and SFC (System File Checker)—to repair the OS without needing a full reinstall.
In this comprehensive guide, you’ll learn how to use DISM and SFC step by step, understand their differences, fix common errors, and prevent future issues. If your PC is struggling with failed updates, BSODs, or sluggish performance, these tools may save you hours of frustration.
When Should You Use DISM and SFC?
- Windows Update fails repeatedly with errors like
0x800f081for0x800f0922. - You encounter random crashes, BSODs, or unexplained slowdowns.
- System files are corrupted after malware infections or power outages.
- Critical apps like File Explorer, Settings, or Start Menu stop working.
Step 1: Run System File Checker (SFC)
The SFC tool scans and repairs corrupted system files using cached copies. Always run it as Administrator.
- Press Win + S, type cmd, then right-click Command Prompt → Run as administrator.
- Type:
sfc /scannow
- Wait until verification reaches 100%.
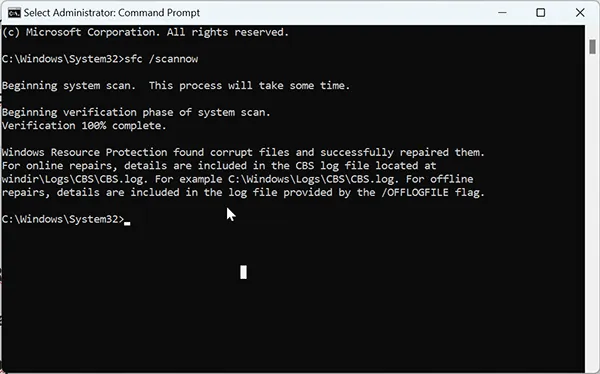
sfc /scannow to scan and repair system files in Windows 11.If SFC reports Windows Resource Protection found corrupt files and successfully repaired them, reboot and check stability. If it says could not repair some files, proceed with DISM.
Step 2: Run DISM to Repair Windows Image
DISM fixes corruption in the Windows Component Store that SFC relies on. Run DISM before retrying SFC if initial repairs fail.
- In elevated Command Prompt, run:
DISM /Online /Cleanup-Image /CheckHealth
- This checks whether corruption exists.
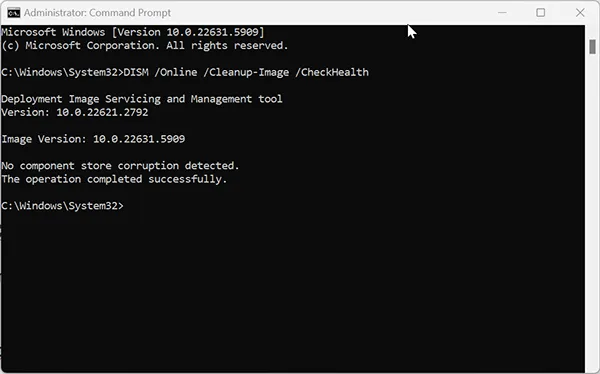
CheckHealth scan checks for image corruption quickly.- If corruption is detected, run:
DISM /Online /Cleanup-Image /ScanHealth
- For full repair, use:
DISM /Online /Cleanup-Image /RestoreHealth
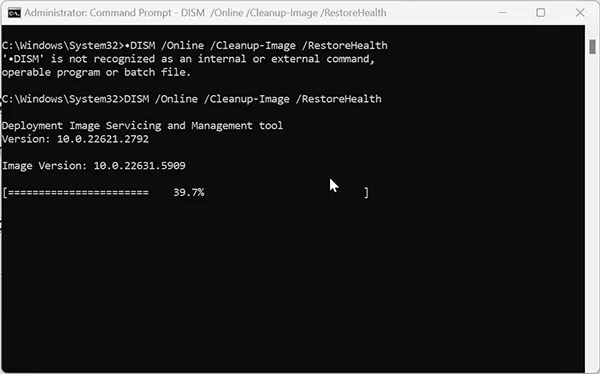
RestoreHealth repairs the Windows image using Windows Update or local sources.DISM vs. SFC: Which Comes First?
A common question is: should you run SFC first or DISM? The best practice is:

- Run DISM to ensure the component store is healthy.
- Then run SFC to repair system files using the fixed store.
Verify the Fix
Once both commands complete, confirm your system health:
- Run
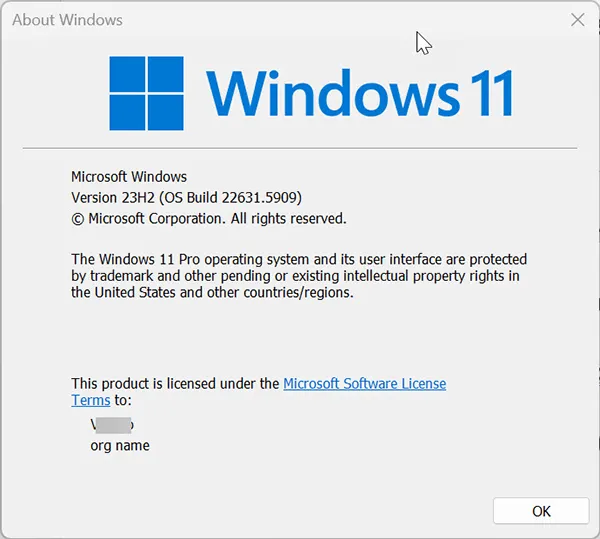
sfc /scannowagain; it should report no integrity violations. - Use Win + R → type
winverto confirm build/version.
What’s New in 2025?
- Microsoft improved DISM logging in Windows 11 24H2, making it easier to trace failures in
C:\Windows\Logs\DISM\dism.log. - SFC now repairs more modern app dependencies (like
AppXpackages) automatically. - Updated Microsoft Docs on DISM highlight using local ISO sources when Windows Update is unavailable.
Preventing Future Corruption
Prevention is just as important as repair. Follow these practices:
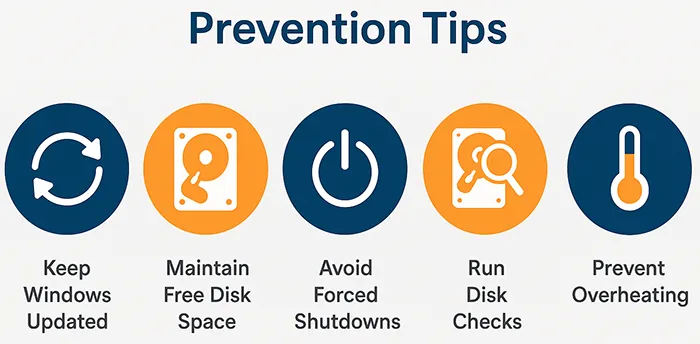
- Keep Windows updated to patch known corruption bugs.
- Maintain at least 15GB free space for updates and repairs.
- Avoid forced shutdowns during updates or file operations.
- Run CHKDSK occasionally to detect bad sectors:
chkdsk /f /r
- Prevent overheating—high temps damage drives and RAM. See our guide: How to Check Overheating of Your Computer.
Related Troubleshooting Articles
- Fix Windows 11 KB5065426 Update Error
- How to Resolve Error 0x80004005 in Windows
- How to Clean Up Disk Space on Windows 10
Frequently Asked Questions
Should I run DISM or SFC first?
Run DISM first to fix the Windows image, then SFC to repair system files with a healthy component store.
How long do DISM and SFC take?
SFC usually completes in 5–15 minutes. DISM scans may take 20–40 minutes depending on corruption and system performance.
Can I use my Windows 11 ISO with DISM?
Yes. Mount the ISO and point DISM to the install.wim or install.esd file if Windows Update isn’t available.
Will running these commands delete my files?
No. DISM and SFC only repair system files. Your documents, apps, and settings remain safe.
What if DISM fails with “source files not found”?
Use a local ISO source:
DISM /Online /Cleanup-Image /RestoreHealth /Source:D:\Sources\install.wim /LimitAccess